
If you’re purchasing a tank from scratch or upgrading an existing one, it’s worth taking into consideration size options as well as which type of tank will work best for you before making a purchase. Hit the road with professional auto detailing water tanks and pressure washer water tanks to keep your car looking its best and provide your customers with the best experience possible. You’ll need to measure the distance between where the water is stored and where the hose enters the detailer. To ensure successful mobile water detailing, consider the following steps below:
Step One: Determine Tank Type
Choosing the right size tank is important for some reasons, including how often you plan on traveling to detail cars and whether or not you’re running any other services in your shop like car washes. If you are detailing 20-25 vehicles per week, a 15,000 to 20,000-gallon tank should work well.
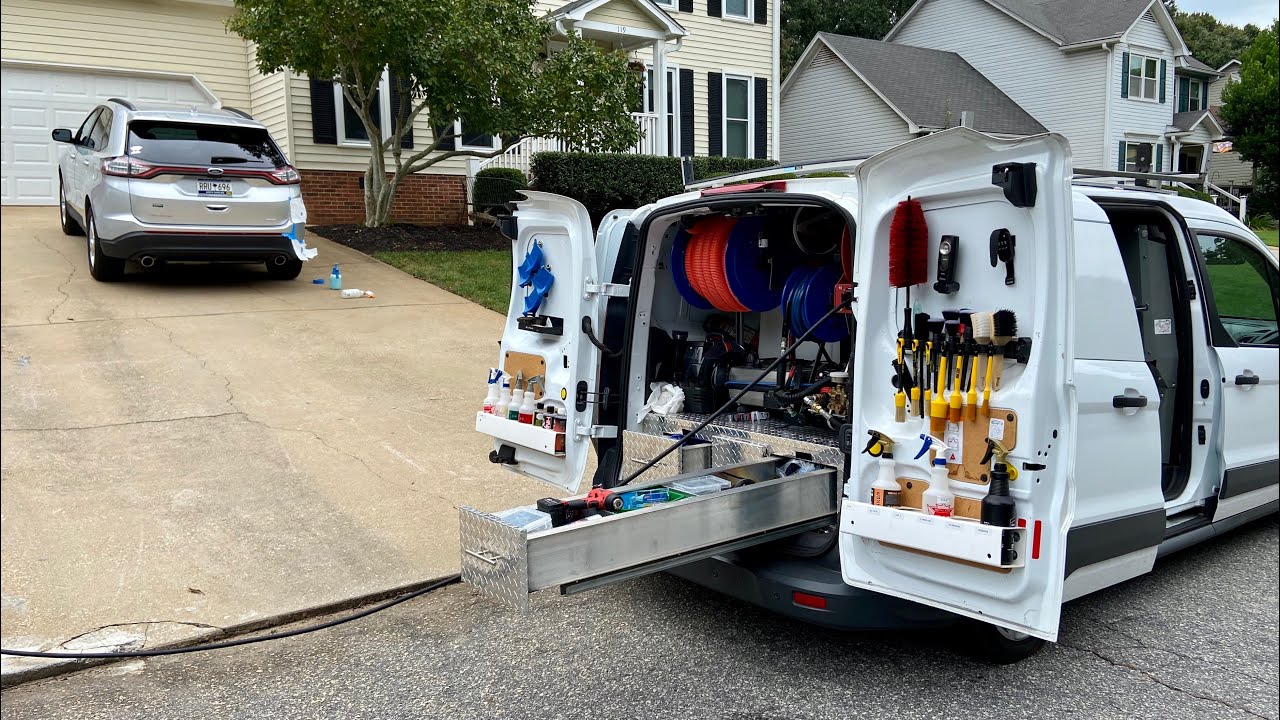
There are two main types of mobile detailing water tanks. The first is a metal tank with an airtight lid where pressure and vacuum control the release of water. These tanks are heavy-duty but heavier to transport and install because they have no wheels or handles on top, as many other models do.
The second type of tank is made from high-density polyethylene (HDPE), which means it’s lighter in weight, more durable than steel, for example, and cheaper when comparing prices per gallon size capacity. This might be a good option if you’re budget-conscious. Additionally, some HDPE options come equipped with an electric pump that can dispense up to three gallons at a time.
Step Two: Determine Size Options
There are eight different size options available, and they range from 200 gallons to 6000 gallons in capacity. For the average mobile detailer, though, it’s best to get a tank that can hold about two thousand gallons of water, so you don’t have to refill as often or transport more than necessary for each job depending on how many cars you do per day. Suppose there are specific requirements such as needing larger tanks (for large-scale detailing companies). In that case, this will need to be considered separately when purchasing because your average supplier may not carry these sizes specifically due to logistics and distribution limitations. It is also worth considering what type of car(s) you intend on using with your new tank and whether it will be able to fit in the trunk or backseat of that vehicle.
Step Three: Determine Location for Installation
Suppose you’re installing a tank from scratch. In that case, this is a crucial step to consider before drilling any holes because if you go too low during installation (for example, below ground level), then there’s a chance underground water can contaminate your tank, which would render it useless. You may also want to make sure there are no trees nearby as well since they could grow roots up through the hole drilled by mistake and cause foundation issues eventually down the line. If you need help determining where exactly along your property lines is best for location, contact an excavator who should have experience digging deep and locating underground water sources.
Step Four: Drill and Place Your Tank
Once you’ve determined the proper location for your tank, it’s time to drill holes into the ground where concrete can be poured later on-site (or installing from scratch in a designated area). Once these are drilled, place your tank over them with care so that no dirt gets inside of the hole during installation. Fill up your new vat of freshwater, and voila! You’re now ready to start washing cars as needed without having to worry about running out or waiting around for someone else every few hours while they deliver more supplies.
Step Five: Maintain Your Tank
It’s important to maintain your new tank, especially if it was installed from scratch. The first step is to make sure there are no leaks and that the concrete seal has adequately hardened, so you don’t lose any water during transportation or on-site at a job site. Secondly, one should clean out their tanks periodically as needed with an in-line filter system such as this one which can keep debris and small contaminants out of the water column (if not done already). This will ensure all the car parts being washed have access to clean rinse water for optimal results every time without worrying about tiny particles getting trapped in between crevices. Lastly, make sure you still use chemicals like dish soap, shampoo, and high-quality car soap to clean your tanks periodically as well so that the water is adequately disinfected.
Step Six: Keep Your Tank Standing Tall
Lastly, for tips on how best to maintain a mobile detailing pressure washer setup from scratch, it’s important not to let the tank fall over or tip at any time because this can cause leaks which will result in costly repairs down the line. Additionally, if you’re storing your vat of fresh (or even dirty) water outside, then be sure to put up an enclosure around it with care so that no debris falls into the hole before it has sealed up completely.